Verifying your Blog or websites with Pinterest can take a few minutes and be completed faster than you can say: “Free Backlink” and if you are wondering by verifying your website in the Pinterest dashboard you do in deed get a backlink that can bring potential visitors to your website or blog.
To have a better understanding of what I am speaking of you may checkout our Pinterest profile board here:
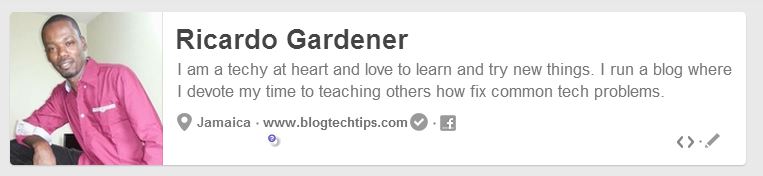
Notice the Verified link with the check mark that’s clickable.
To do this simply follow our steps below to verify your Blog and receiving your link on Pinterest:
1. Sign into Pinterest or signup if you do not have an account.
2. Once you have logged into your account simply click on your name in the upper right of the screen and select: your profile and pins.
3.Just below the Pinterest logo click edit or the icon resembling a pen.
4. You may want to fill out your profile info, upload a picture and most importantly add your blog in the Website field.
5. Next click on verify beside your website link to make it clickable.
6. Next make sure you select: verify by Meta tag as the option to use in the verification process and move on to the next phase of the verification.

Easily verify your Blog or website with Pinterest.
Verifying Your WordPress Blog by Meta Tag on Pinterest.
Verifying your Blog by Meta Tag is by far one of the easiest methods to verify your website if you have a WordPress hosted website or blog, so if you have your meta tag ready as in the step before simply follow this guide towards implementing the tag to get verified on Pinterest:
1. Log into the WordPress dashboard of your website and from the control panel on the left choose: Appearance and then Widgets.
2. Search for the: “Pinterest Verify Meta Tag” widget.
3. Once installed Activate the Pinterest verify Meta Tag widget and click edit.
4. You should see a screen with a field asking you for the Meta Tag, simply go back to Pinterest and copy the string of code within the quotes after content= and paste it in the widget and select restore defaults on plugin deactivation/reactivation check box and save changes.
5. Give it a minute and go back to Pinterest and click verify, the website link will now show with a check mark beside it and will be clickable.
6. That’s it you can now choose to uninstall the widget as it’s only function is for Pinterest Verification.
That’s it for getting a backlink from Pinterest one of the easiest you can get, all while adding value to your blog by adding a quality backlink. If you have a comment or concern please leave a comment below or simply tell us what you think, it would be a pleasure to hear from you guys.