If you are feeling intimated by the idea of replacing your Laptop screen by yourself that has been broken or smashed some how don’t be, the process of performing a laptop screen replacement is quite a manageable exercise that just about any one can do with a little help and some know how. In fact you can get through the whole process in as little as 10 -15 minutes. I will also show you how to match and find a replacement screen so that you can switch out the broken one and save yourself some money in the process by doing it yourself.
Things you will need:
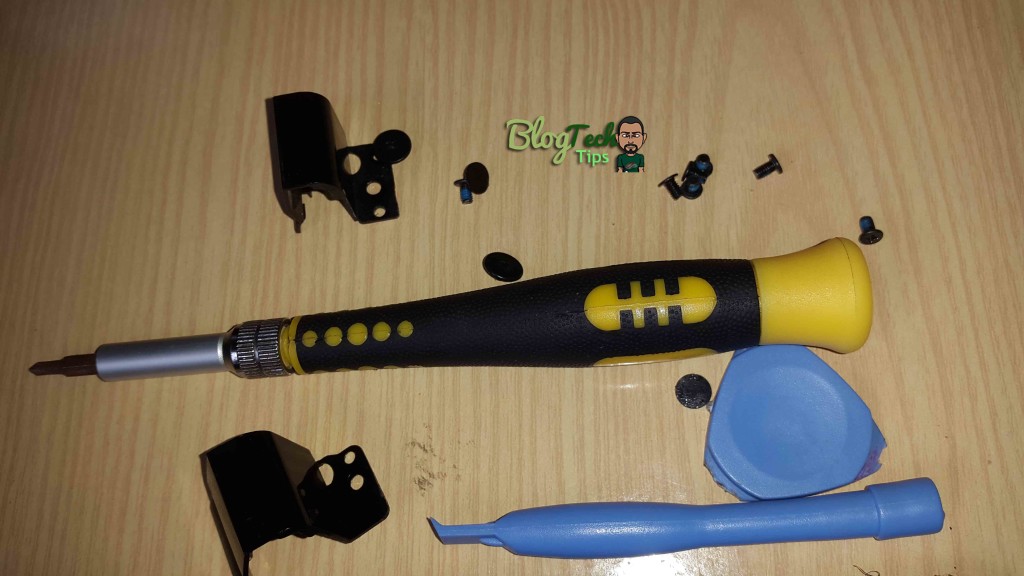
1. You will need a Philips screwdriver and some forceps.
2. The replacement Laptop screen, read below to find out how to find the exact match and that’s it.
Laptop Screen Replacement
So now that you know that you can actually do this by yourself let’s get the process started:
1. Power Off your Laptop and remove the battery just to be on the safe side.
2. Look at the lower left and right of your screen you will notice two (2) usually round circles, these are actually hiding two (2) screws. Remove both of the coverings with a sharp tip object .Save both coverings as they are sticky.
The screw holes are covered up and hidden with a sticky plastic covering that can be removed.
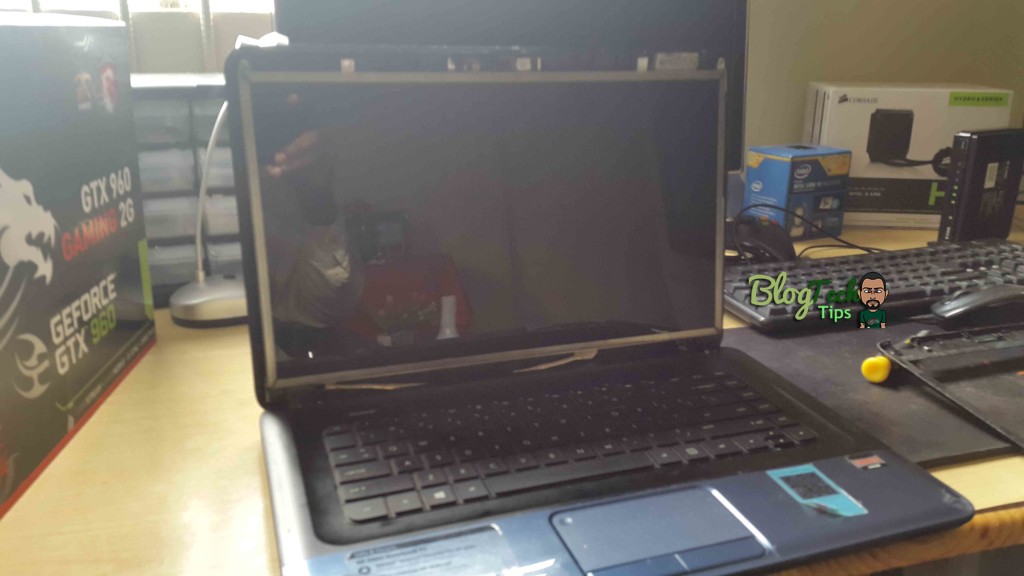
3. Remove both screws beneath the surfaces that you just removed and look to make sure there are no more covered screw holes anywhere else around the screen area. Next we will remove the front bezel of the screen, to do this from the sides get a set of forceps and run it along the side of the screen in the grove until the clips holding the slips snap and open. Also to make things easier from inner side of the screen use your fingers to get between the side bezel and lift from underneath the clips that hold the screen together will fly removing the front bezel.
4. Be careful to hold the back half which may fall and watch out for the ribbon cable that’s attached to the Webcam and microphone, remove the cable by detaching it from the small camera and microphone circuit board.
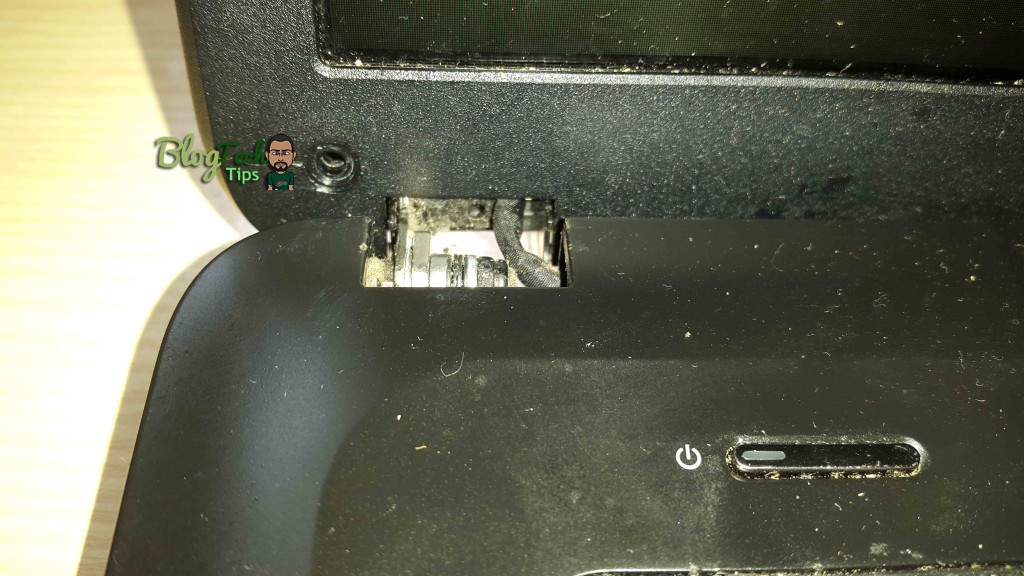
5. Look to the lower portion of the screen again as you will notice the hinges that allow the screen to pivot back and forth. Remove all three screws that hold this section together, the last of the three will be difficult to get to, so you will have to remove the plastic that covers the hinges, to do this push the plastic from the underside of the laptop and pull from the top, when its removed then totally remove the last screw.
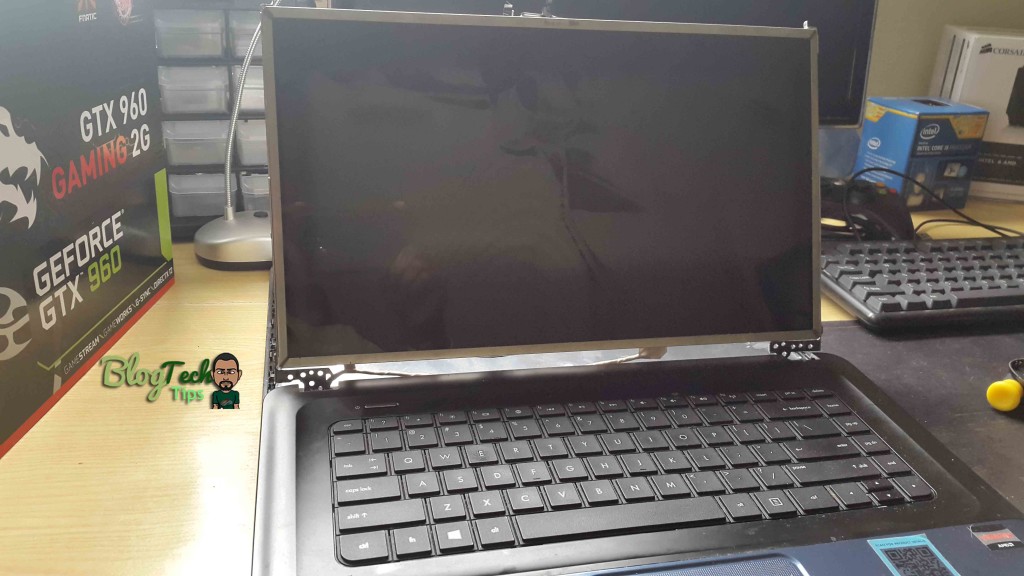
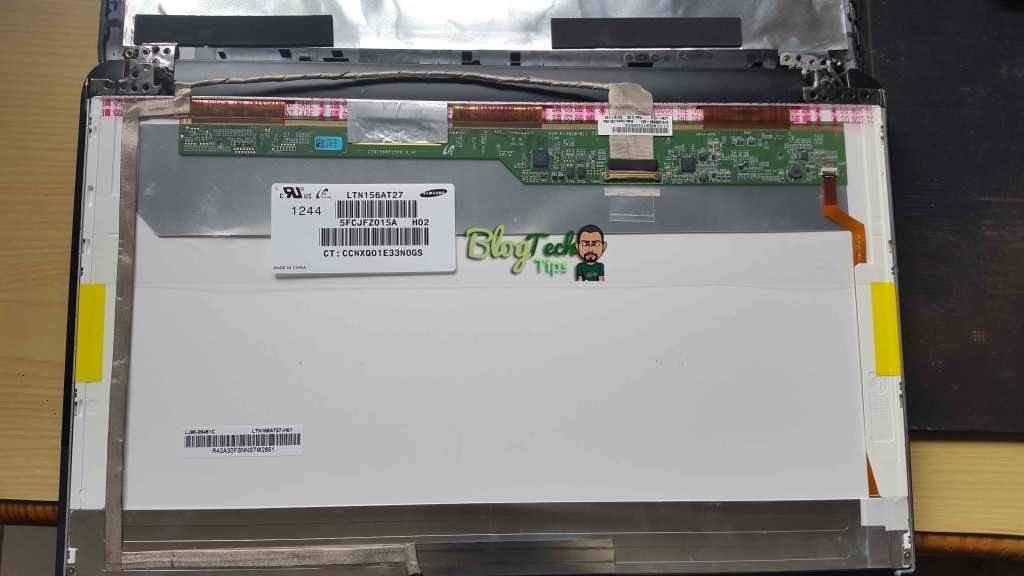
6. The screws that you just removed should be the only thing holding the back cover and it should now easily fall away from the screen which is held up by a metal frame. Remove the three screws from the right and left side of the white screen being held in place by a metal frame. The screen should now be loose, detach the display connector by peeling off the sticky tape and removing the connector from its slot. the screen should now be totally disconnected.
7. Now look on the back and you will see the manufacturer as in our case it was Samsung and look for the Part number which in our case is LTN156AT27 , with this information go to Amazon and search for the part number and you will find your replacement screen. Look at the pictures carefully to make sure the connectors are all in the correct place as the one that’s broken when satisfied then order it.
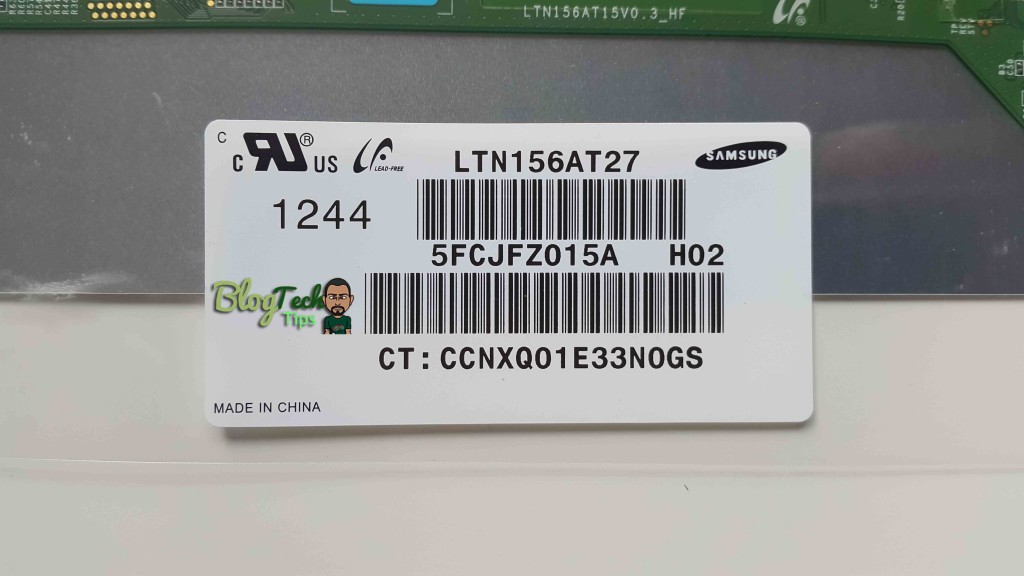
The Number starting with LTN…at the top of the barcode is the the Part Number that you need
8. When the replacement arrives, fit it in place and reconnect the display and reassemble in reverse as you did when pulling the Laptop display apart apart. That’s it congratulations you have replaced your Laptop screen.
Now that was not too hard was it? Performing a Laptop screen replacement is easier than it looks I am sure you agree, please share your experience in the comments below it would be great to hear from you our readers.
Troubleshooting
1. If the new display is still blank after installation, go back and check the display connector as if this did not connect properly the display will not work.
2. Likewise if your webcam is not working check the signal cable that connects to the webcam to insure it connected.


Hi Ricardo! Great tips shared here. I had to do this with my Sony Vaio screen a few years ago as I got rather angry (like the hulk) and punched the screen. It was an expensive lesson in anger management. Depending on the make of laptop, they sometimes put a adhesive window frame around the plastic housing which can be a pain to peel off and it is a good idea to keep a small pot to hold all the screws when you take them out as they need to go back in when you secure the screen.
Thanks for the Tip Jason, I really had to chuckle when I read the part about you punching the screen that caused the screen to crack. Anger gets the best of us at times especially with Electronics, again solid pointers and thanks.