Making a Screenshot on Windows is 11 is very easy if you know how. You can very easily make a full screen or partial screen capture that can be saved as a image.
This will work on Laptops, Desktops regardless of bran from HP, Acer, Dell and so on. I do this all the time and it only takes a few minutes max.
Video Tutorial:
Watch my video tutorial and see how its done from the beginning to the end.
How its done?
To take a screenshot go ahead and
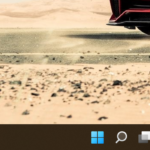
1.Go to search and do a search for: Snipping Tool.
2.Click +New
3.From the menu select Fullscreen Snip to take a entire screenshot and click Save as upper right to save as a image.
4.Choose Rectangular Snip to capture a portion of the screen and save.
That’s it you can capture any portion of your screen now without issue and very easily.
Before you Go
Do me a solid and share the article with some friends you know. I suggest that you comment below with anything you have to add and check out some more articles.


