Today’s article will be focusing on how to clean and change a graphics card thermal paste this is ideal for those who have either gotten a new GPU and would like to apply a more efficient thermal compound or for those with have a old Video card that’s having overheating issues that’s affecting the functionality of the card. With the aid of this article you should be able to fix such overheating issues and restore your Video card to full functionality.
Symptoms of a Video Card that needs its thermal compound changed.
I have had the pleasure of having a few Video cards over the years and one issue I have found is that after a bit of a time they all go through a phase where the standard thermal compound wears out and needs changing. The symptoms usually include and are not limited to:
1. The Fans on the Video card Ramp up to very loud levels especially if you have a custom fan cooling profile set.
2. Video control drivers crash without warning while playing a Game and ends the Game. You usually get a warning that the drivers have crashed and recovered.
3. Weird artifacts appear on-screen which causes the display to get patchy and weird-looking.
4. You have had your video card at least a year plus and if you are a hardcore Gamer that uses your computer allot or do a lot of video intensive processing such as video editing etc.
If any of the situations above sound like you I would advise you to change the thermal compound on your card as its overheating and the thermal compound will need changing.
What will you need?
You will need all of the following:
1. A Screwdriver set.
2.Arctic Silver 5 thermal compound.
3. Cotton
4. Isopropyl Alcohol.
How to change a Graphics Card Thermal Paste?
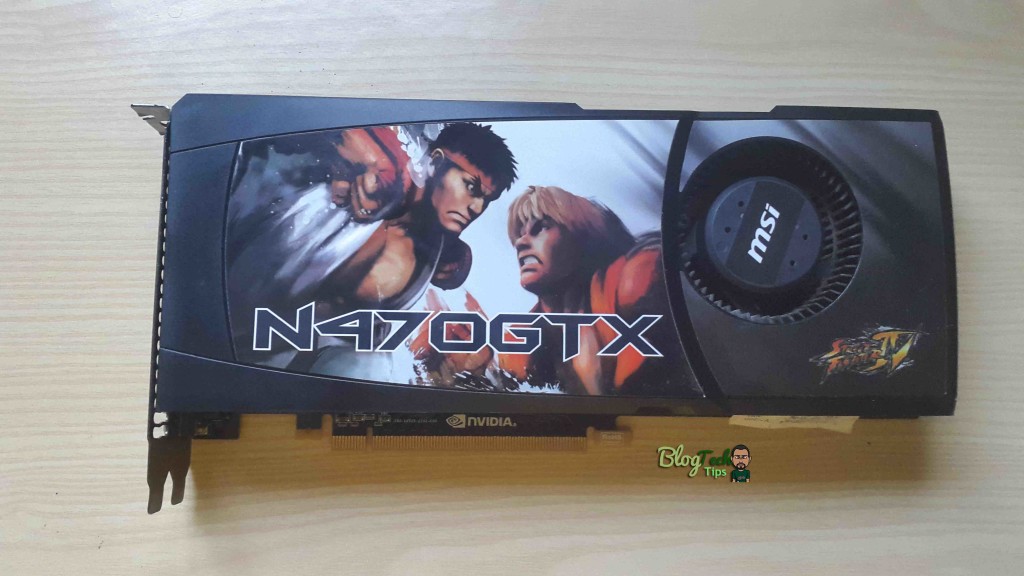
For this tutorial I will be using my old Graphics card to demonstrate, but do not worry as all new or old cards have the same basic design and can be opened in the same way:
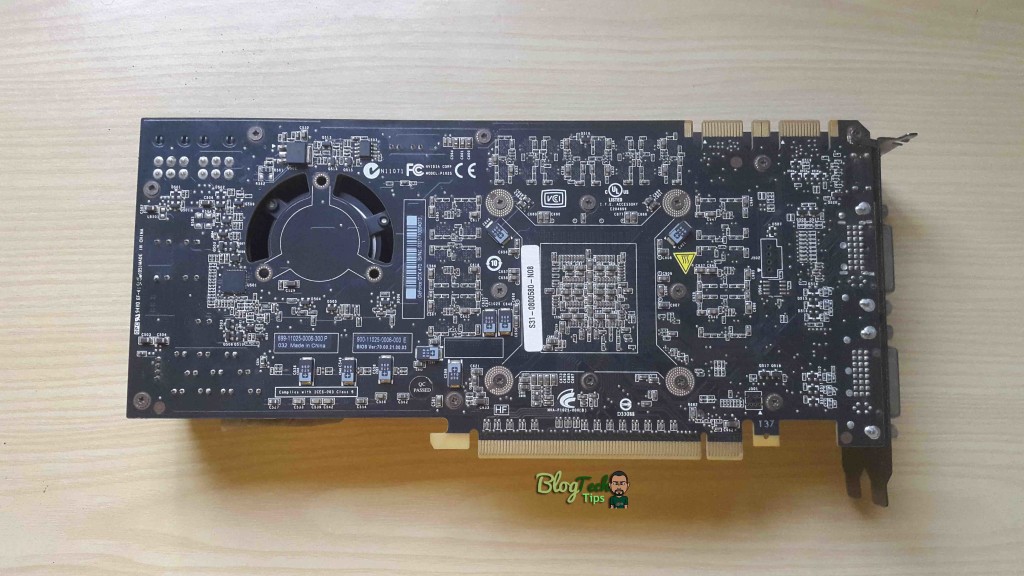
1. Turn your Video Card over and remove all the screws on the back of the Printed circuit board.
2. Next flip the card back over and remove the plastic cover that covers the front of the GPU, check for any clips that holds both halves in place and loosen them by pushing them in usually.
3. Once the plastic cover is off you should now be seeing the heat sink and fan from here loosen the screws from the heat sink and remove it.
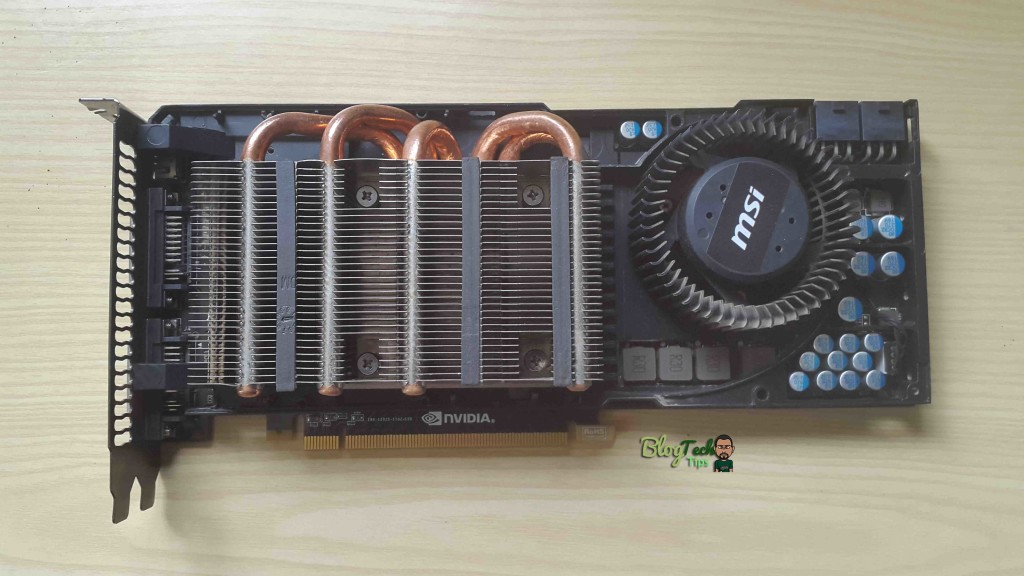
Heat Sink and Fan
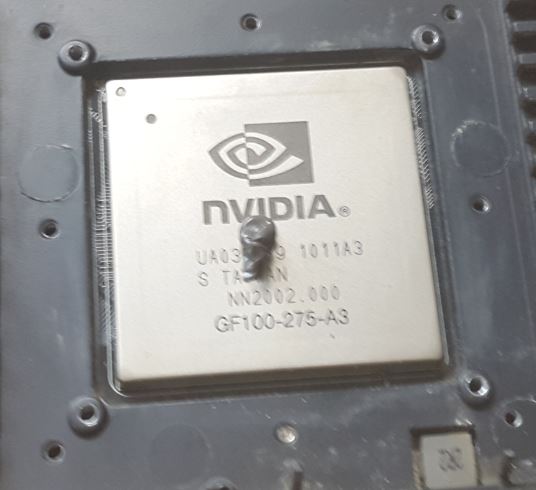
4. From here you should be able to see the actual video processing chip beneath the heat sink, using the alcohol and cotton clean the old thermal compound off until the chip is clean.
5. Next clean the old thermal compound from the copper heat sink as well.

Related Articles:
1.Best Graphics Card for the Money.
6. Now using the Arctic Silver 5 or a thermal compound of your choice and place a pea grain amount in the center of the chip and reattach the heat sink and tighten. Next replace the plastic cover and flip the card over and replace the screws that you removed earlier and that’s it your Video Card should now work without overheating or crashing.
Pea Grain Amount
I hope you found this tutorial helpful, why not let me know it will only take a minute to say thanks in the comments, it would be greatly appreciated. Also do feel free to share this article if you found it useful.