For today’s tutorial I will be showing you how to do a Acer Aspire E15 Screen Replacement. This should be a general guide and can also be used with other devices than the Acer Aspire to change or replace the display.
So if your Acer Aspire Screen is broken this guide is for you as we show you how to change the screen with a new one. We will also show you how to find and buy the matching replacement easily.
What device doe this apply to?
This guide can be used with any Acer Aspire E15. But bear in mind that the guide can also be used in general with almost any Laptop.
The Laptop used in this guide exactly is the Acer Aspire E 15 ES-576-392H, but be reminded this guide will work on any Acer Aspire E15 or Laptop in general.
Important:
Always match your display and make sure its correct and compatible with your device before purchase or you could end up with the wrong screen.
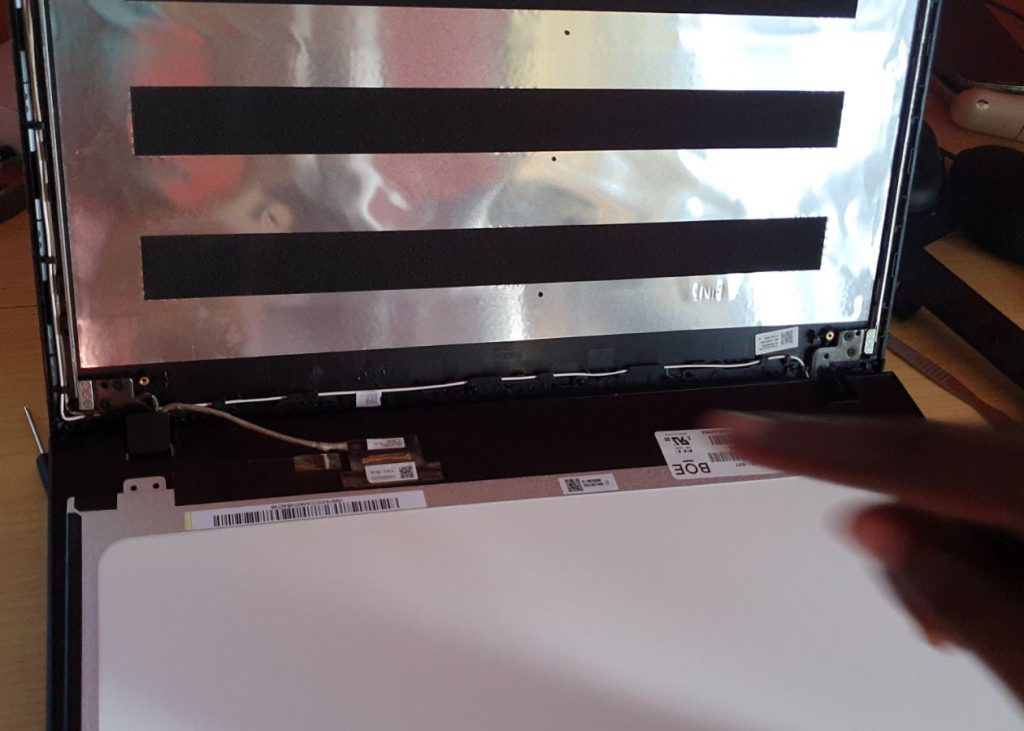
So make sure Connectors match, resolution, position of the connector and so on. For the Laptop used in this guide it had a 30 pin connector meaning a 40 pin connector screen would not work. You can count the Pins on the connector or see if its written in the general area of the connector.
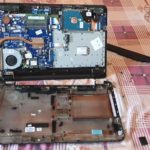
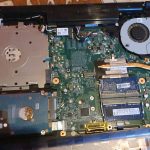
Also its a good idea to open up the display and take a look at what it looks like and either find a replacement based on your device model or the serial numbers on the broken display.
What You will need?
Remember my device was a Acer Aspire E 15 ES-576-392H and as such what I needed was:
1.Matched Replacement Display as seen below (Also comes with Laptop opening tools) .
2.A Laptop opening tool set.
3.Some time and this guide.
Video Tutorial:
Watch the following video to see how the screen replacement is done step step.
How to Replace a Broken Acer Laptop Screen?
1.Power off the Laptop. You can power down by Long pressing the power button if its not already off.
2.Use the flat metallic prying tool to get between the grooves of the screen and separate slowly from end to end.
3.Remove the front strip. Remove the four screws that hold the screen in place.
4.On the back of the screen remove the tape and remove the screen main connector. Its important to note the amount of Pins on the connector. If your screen has 30 pins the replacement should be 30 pins or it wont work. Read the Important section above.
5. After you have found and bought the matching replacement based on the removed broken screen. Go ahead and place the new screen in and connect everything once more and secure the tape.
6.Screw everything back up and snap the front on once more. Power up the Laptop and make sure everything is working.
That’s it you should be good now, the video guide shows everything in detail so be sure to watch that while you do your replacement. If the new display is not working make sure the connector is fully connected and the new display is not broken or is the correct part was bought.
Before you go
Before you go please share this article on the Acer Aspire E15 Screen Replacement. Any questions please ask below and check out more of our content.